Google Analytics Tracking Code

Showing posts with label DIY. Show all posts

Saturday, June 23, 2012

Baby's Room Reveal

Our little guy's room is done! Hooray! I absolutely love how it turned out! My husband even loves it and I've found him in there just relaxing in the chair :) Not quite sure what you'd call the theme, but I call it Rustic Beachy Nautical. Yeah I know beachy is not even a real word, but that's the best I could come up with :) Stay tuned for posts about all the DIY projects: compass pillow, striped pillow, vintage canvas map, number canvas, oars upgrade, twine initial, faux basket liner and bedding. Enjoy!


DIY Compass Pillow

DIY Vintage Canvas Map

DIY Number Canvas

DIY Oars and Twine Initial


3 Tier Server

Well I'm finally getting around to posting the gifts I made for Mother's Day! I've been spending as much time with my girlies as possible and doing projects like crazy getting things ready for our little guy...by the way he's scheduled to arrive in 9 days, but have been so lazy about posting on the blog! Forgive me? I hope so! So let's get back to the post! These are so easy, so cute and were a huge hit! It took a trip to the dollar store for 2 glass candle stick holders and 3 plates. Combine that with E6000 glue and you're ready!

3 Tier Server

  1. Clean and remove all stickers from plates and candle ticks. Let completely dry.
  2. Glue candlestick bottom to bottom of plate. It should look like this:
      
     3. Repeat step 2 and let those dry overnight.
     4. Glue plates so it stacks 3 tiers high. It should look like this:


     5. Put it in a safe place and let it dry overnight.

And you're done my friends! Simple right? YES! Even my husband loved it and asked if I was making one for us :) of course I was! You may have noticed it on my buffet table when I shared that makeover with you. It was a huge hit and would also make a great gift for a wedding or birthday!

Enjoy!


Monday, June 4, 2012

Rapunzel Birthday

I had so much fun planning this birthday party! It was a lot of work, but so worth the look on my daughters face when she woke up the morning of her birthday! If you know me you know I don't like to just buy the store printed table clothes and call it good for decorations. I wanted the sun banners and lanterns everywhere. There was a very helpful blog I came across with ideas that I liked and she even included some printouts!

*If you would like printable versions of the coloring pages (found in google search), sun bunting (found here), lanterns, Flynn Rider wanted poster (found in google search) and frying pans I'd be happy to email them to you. Please contact me at lilpinkpocket@gmail.com.

Now lets get to the party!

I designed her invitations using paint.net and an image I found online

I made the sun buntings by stringing them on yarn and adding fabric scraps in between each one.

I made lanterns by printing the design on vellum and put battery operated candles inside. The hanging lanterns have the candles attached by fishing line.

The "hair" is made from crape paper. I cut 9 strands 23 feet long, braided 3 sets and then braided those three together...yes it was time consuming, but once I got my groove it went by a little bit quicker!

The cake turned out to be my favorite part! If you know my you know I'm horrible at cakes so this was a very proud moment for me! I saw this tower using ice cream cones and I can't find where it is! I used a glass platter for the base and put the first layer of frosted cupcakes. Add the next layer of frosted cupcakes (about 8) The actual tower is 2 regular cones hooked together with skewers, a cupcake and a frosted waffle cone on top. Then add the green frosting to look like leaves and vines up the tower. Then add the flowers (from the dollar store) and that's it! 


My little Rapunzel all dressed up and so excited for the party!

We had and assortment of food that was geared towards the movie as well. Braided bread sticks, yellow twizzlers and jello and orange boats.


For entertainment at the party I had coloring pages for when people started getting there, we played pin the frying pan on Flynn Rider and painted pillow cases. It was so much fun and a huge hit with my 4 year old!

*If you would like printable versions of the coloring pages, sun bunting, lanterns, Flynn Rider wanted poster and frying pans I'd be happy to email them to you. Please contact me at lilpinkpocket@gmail.com.

Enjoy!

 

Wednesday, May 23, 2012

Dresser Turned Buffet Table

Well friends the countdown is on! I have 5 1/2 weeks left till our little guys is scheduled to arrive and that means I've been in full project mode around here. We also celebrated both of our little girls birthdays and mother's day so there's my excuse for the lack of love on this lil blog of mine! Good news is that there are lots of project posts coming!

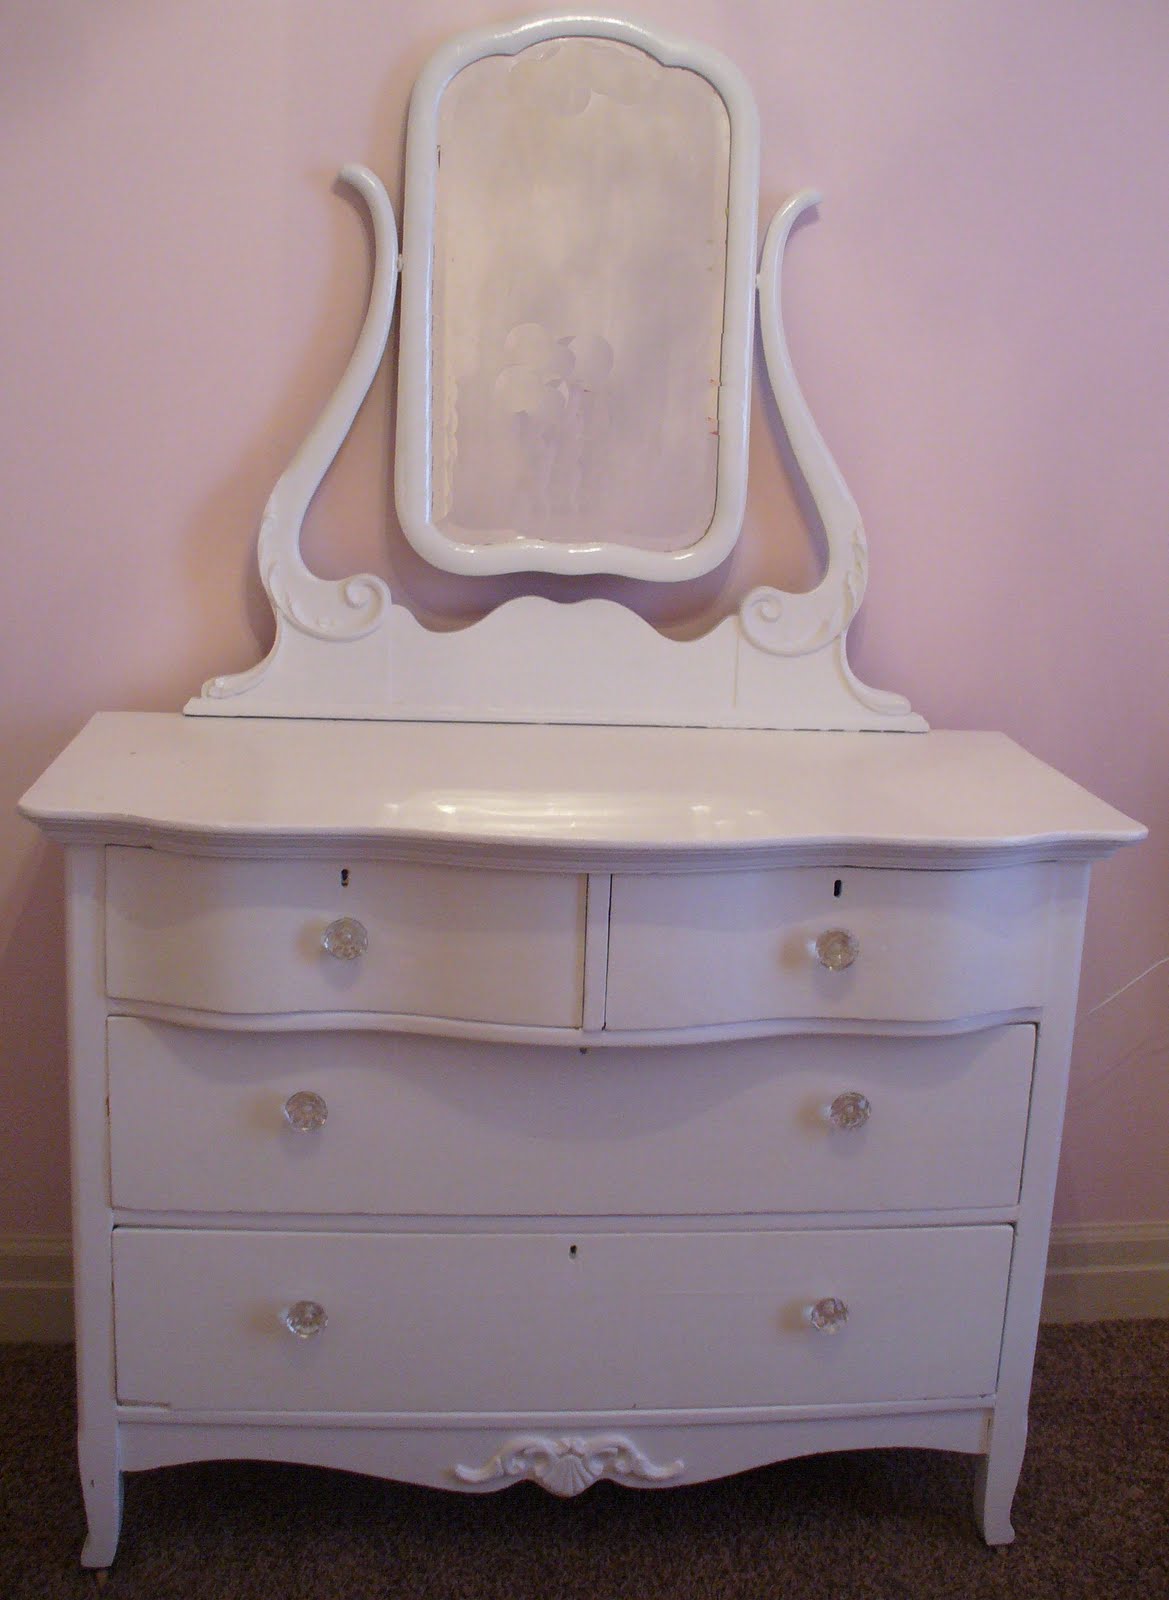
I'm excited to share this first project with you! This is a sentimental piece of furniture passed down from my grandma. Does it look familiar?


Remember this post about this special piece of furniture that I made over for my daughter's room? Here's a reminder of what it looked like after that post.


 Here's what I did to make it the beautiful buffet table that is now in my dining room!

Strip the paint from the top and sand it down to a silky smooth finish.
Apply 2 coats of my favorite spray paint Krylon Ivory to bottom portion of dresser. Then distress on corners and anywhere you feel like it!
Apply Minwax Ebony stain to top and distressed areas. I did 3 coats of stain because I wanted it nice and dark. Apply protective coat. I used polyurethane and applied 3 coats, sanding in between each coat. Add new hardware and it is now a beautiful buffet table!

What do you think? I absolutely love how it turned out and that I had a new use for this special piece of furniture. Another bonus is it added lots of storage to that room! Thanks for stopping by!

Enjoy!
 

Monday, March 12, 2012

Children's Rocking Chair Makeover

Hello there! As promised here's the children's rocking chair for my girls room! If you didn't see my post about the inspiration and colors I'm using you can check it out here.

Now lets refresh our memories of what the chair looked like before.


And after removing over 100 staples, filling the holes in the seat, a little bit of sanding, a solid coat of Kilz spray primer and Krylon Raspberry spray paint here's what she looks like now:


What do you think? I still need to make the pillow for it, but that will be done with the sewing projects. First things first...I will be stenciling this weekend and am so excited about it and can't wait to show you!

Enjoy!

Thursday, October 27, 2011

Eyechart Canvas

A few months back I found an awesome FREE website to make custom eye charts. You type in the text you want and it creates it for you. So AWESOME right? At that time I was working with the other fabulous young women leaders in my ward on our young women in excellence program. I am a member of  The Church of Jesus Christ of Latter-day Saints and you can find out more about it here or by emailing me. I was in charge of the take home gift for the girls and our theme was "Become Something Extraordinary". As I was typing different text to fit perfectly on the eye chart I decided to enter in the theme and it fit perfectly! You seriously have no idea how excited I was! I have been so excited to share this with all of you!
  • To create your eye chart click here. Or use any photo print you want.
  • Print eye chart in desired size. We decided on 8x10 and printed them at Costco.
  • You'll also need a canvas, modge podge and foam brush.
  1. Cover your work area with a drop cloth, newspaper or whatever you have on hand.
  2. Cut photo to exact size of canvas. You will want the edge of the print to be flush with the edge of the canvas.
  3. Pour a generous amount of modge podge directly on canvas and use foam brush to spread and even layer on entire canvas being sure to go all the way to the edge. Brush the glue from the center towards the edge so you don't get globs of glue running over the edge of the canvas.
 

4. Press print on canvas firmly. 

5. Set aside and let it completely dry.
6. Once the canvas is dry you will put another layer of modge podge over the print using a foam brush. Make sure to spread the glue using long even strokes going from top to bottom.


7. Let canvas dry completely.

Not here's the lame part...I totally forgot to take a pretty picture of the final outcome! Take my word for it they were super cute!

There's so many different options of things you could create using the eye chart maker. Don't you think it would be such a cute personalized baby gift? Or a personalized wedding gift? Here's a couple I came up with.


Now go create your own! Enjoy!


*Check out these awesome parties I link up at!
Related Posts Plugin for WordPress, Blogger...